So this week when Mary Beth Mckenzie worked on my underpainting I decided it could be a good idea to take a photo of her corrections. Then I decided it might be helpful to take a photo of my painting day by day and try to figure out where I made good, clear decisions and where I simply pushed paint around on a canvas.
 PHASE 1: I took this photo right after Mary Beth worked on my painting. She came by and quickly corrected a very dubious drawing, and essentially did all of what you see here. She doesn't use any turp or oils- just directly "scrubs" the paint onto the canvas. She works very fast and rarely hesitates. But every stroke she puts down serves a clear function. She told me painting is about "going back and forth between line, negative shape, and volume" and that I can't "trust anything" I put down until I'm really sure of it, and that often won't happen until I have all the corresponding parts down as well.
PHASE 2: This is at at the end of day one. I almost didn't put the lights in but I'm glad I did. In a way, I think I like the painting the most at this stage. It reads in a simple way and I like the midtone patterns on her upper back/lower neck.
 PHASE 3: End of day 2 and the weakest stage in the painting, I think. I felt very timid and focused on the midtones (the hardest part of the painting) instead of blocking in the chair or her red robe. As a result I lost a lot of the lights i had established the day before and those I did keep (like her left shoulder) I just made lighter and they didn't read at all. At this point I really felt like I was going backwards not forward. Look at how sharp that shoulder blade is! It looks more like the corner of a cube jutting out of her back.
 PHASE 4: Still I worked very slowly, but felt like I finally started to regain control of the painting. I tried to visualize the different shapes on her back and how light would travel across them. Her shoulder blades gave me the most trouble and I never really figured them out. Still, it looks vaguely 3-D I think. Also brought back some of the lights I had lost the day before and toned them down a bit so they weren't that far off from the midtones and darks.
PHASE 5: Last day to finish the painting and I finally realize how important the chair/robe/background is. If, for example, I had blocked in the chair earlier, it would have been a LOT easier to show its reflected blue light on the shadowed part of her back. And if I had done that, then it would have been easier to get a nicer/ higher chroma color in for the midtones on the middle section of her back. Of course, this is all stuff I discover 3o minutes before class is over. eh.
Also- I couldn't get her hair. It's way too mat.
But on the positive side, I really had a lot of fun playing with the palette knife instead of using a brush. It's probably hard to see from these photos, but a lot of lights are put on with the knife.
Oh, I also lost the shadow on her cheek/jaw which I had in the day before. I may go back and try to fix that.


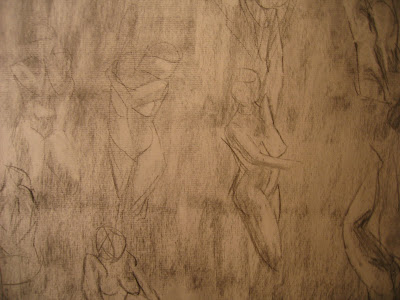
 This is my best one, I think. Which is funny, because I don't really remember drawing it at the time.


